
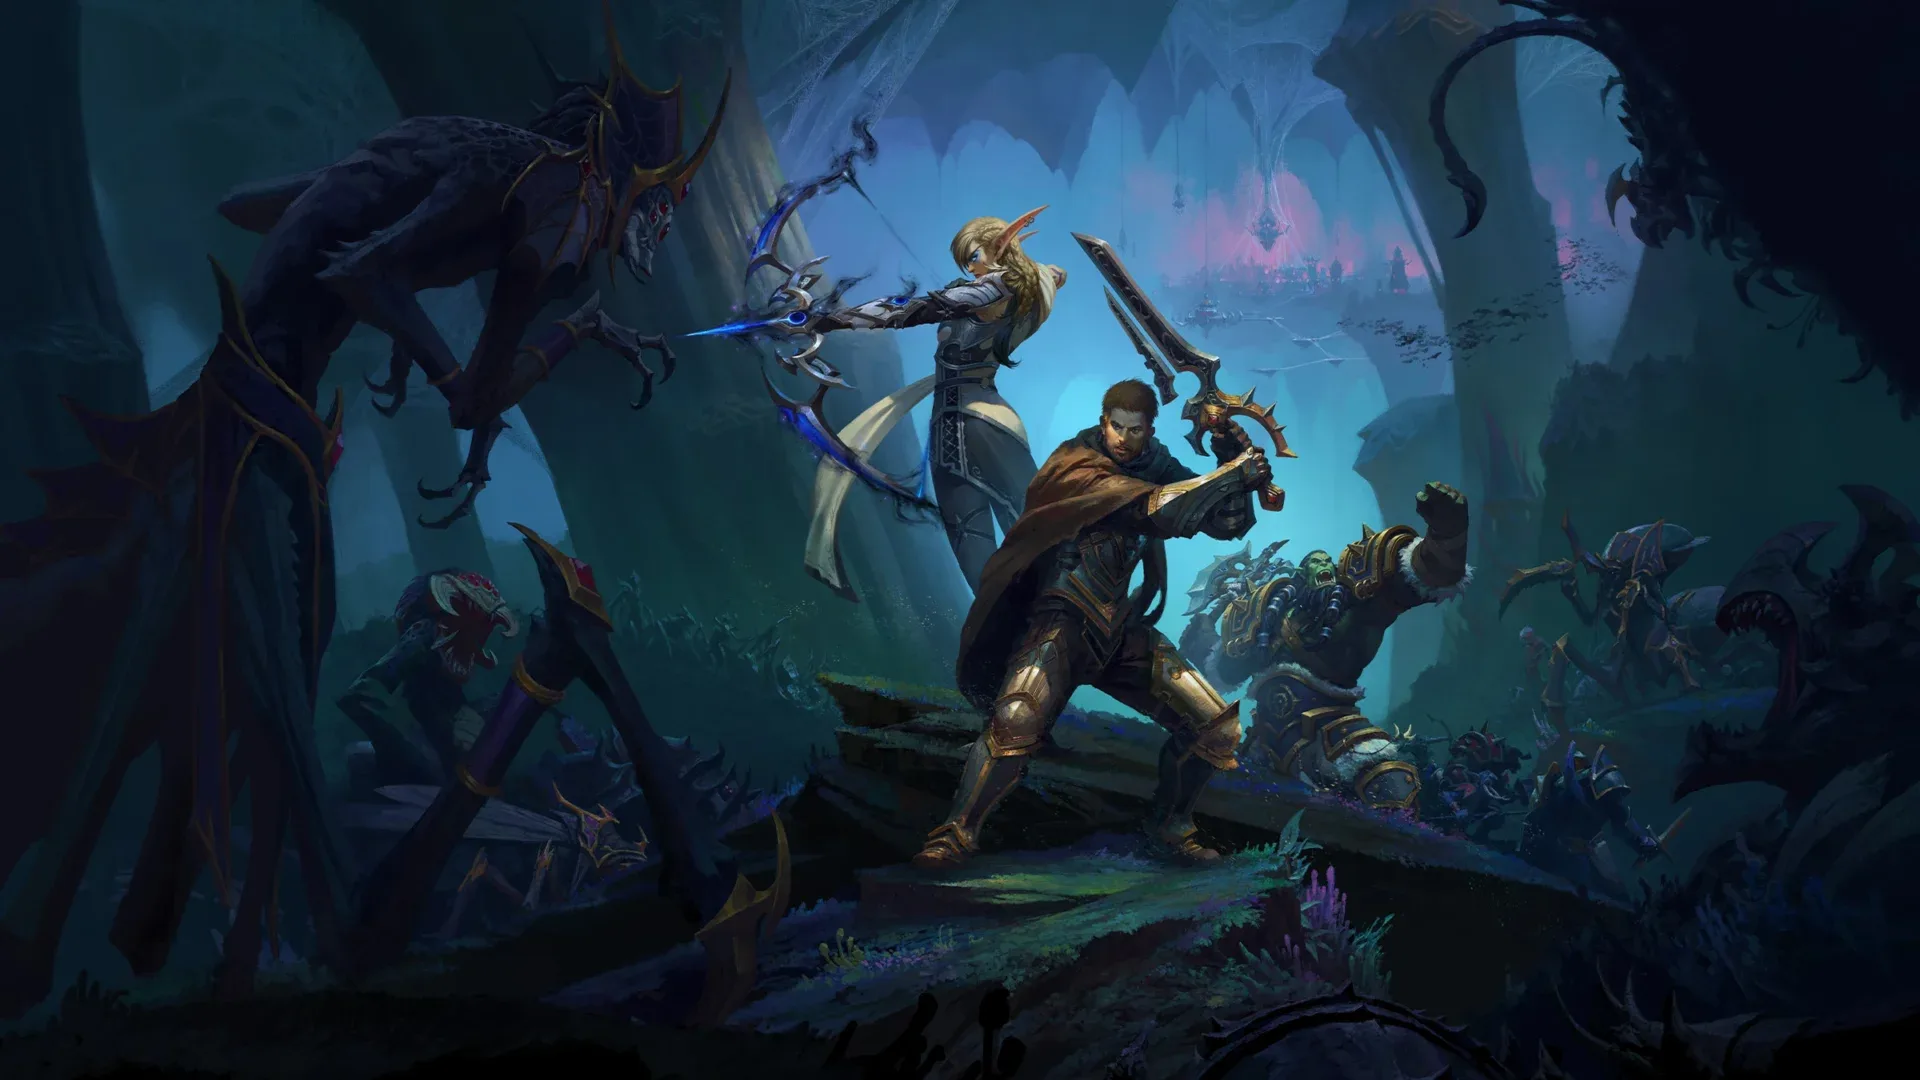
Have you ever wondered what lies beneath the haunting skies of Draenor, where echoes of the past whisper secrets of power and peril?
As you brace yourself to navigate the twisting paths of Shadowmoon Burial Grounds, you’ll need more than just brute strength and quick reflexes.
This Mythic+ Dungeon Guide is tailored to provide you with the nuanced strategies for mastering the dungeon layout, dissecting each boss encounter, and handling the deceptively dangerous trash mobs with finesse.
We’ll also unravel the intricacies of the puzzles that guard the hidden chambers within.
But the journey does not stop at mere tips and tactics; understanding the optimal group composition could be the difference between a triumphant victory and a crushing defeat.
Stay with us, as we unveil the layers of strategy that will elevate your Mythic+ runs from routine to remarkable.
Understanding Dungeon Layout
Navigating the winding paths and cryptic chambers of Shadowmoon Burial Grounds requires a keen understanding of its intricate layout. Tucked away in the eerie Shadowmoon Valley, the dungeon entrance beckons only the most intrepid adventurers. You’re up for the challenge, aren’t you? As you step into this mythic dungeon, remember that each visit won’t be quite the same. The dungeon rotation system ensures that every encounter tests your adaptability and tactical prowess.

To excel, you’ll need to master active mitigation. This isn’t just about soaking up damage—it’s about anticipating and nullifying the threats that lurk in the shadows. Pay close attention to the environment; the narrow corridors can be both a hindrance and a strategic advantage. Timing is crucial, so make your moves with precision.
Don’t let the oppressive darkness of the burial grounds disorient you. Keep your wits about you as the dungeon’s layout unfolds. It’s a labyrinth meant to confuse and confound, but you’re smarter than that. Map out your path, mark your progress, and trust in your ability to conquer the unknown. Stay vigilant, stay moving, and you’ll navigate Shadowmoon Burial Grounds like a pro.
Boss Encounters Breakdown
Confronting the bosses within Shadowmoon Burial Grounds demands a solid grasp of their unique mechanics and attack patterns. This challenging dungeon will test your mettle with each boss fight, requiring you to dodge aoe damage, mitigate heavy ticking damage, and survive massive damage bursts.
Your first adversary is Sadana Bloodfury, a formidable foe who necessitates careful movement to avoid her Dark Eclipse. You’ll need to intercept the orbs of light to reduce the massive damage from her ultimate attack. Failure to do so will likely result in a swift defeat.

Next, you’ll face Nhallish. During this encounter, you’ll deal with heavy ticking damage from his Void Vortex. Be sure to prioritize your survival, and don’t hesitate to use defensive cooldowns if you’re caught in its pull.
The third boss, Bonemaw, will require you to stay on your toes—or more accurately, off the ground! His Inhale ability can pull you into his maw for devastating aoe damage. Keep an eye on the ground, and move quickly to safe zones to avoid being swallowed whole.
Essential Trash Mob Strategies
Mastering the trash mob encounters in Shadowmoon Burial Grounds is just as crucial as the boss fights for a successful Mythic+ run. Depending on the key level, these mobs can be as lethal as any end-of-dungeon boss. Your approach to these mobs should be tactical. Watch out for the lunar cycle buffs that certain enemies possess, as they can increase the difficulty of an encounter significantly.

When facing trash mobs, it’s imperative to prioritize targets that deal the most initial damage or have the most disruptive abilities. Interrupts and stuns should be used judiciously to mitigate incoming harm. Remember, many of these enemies can be avoided or skipped with careful planning and the use of movement speed abilities, conserving time and resources for the more challenging portions of the dungeon.
Coordinate with your team to make the most of any dungeon buffs you encounter, such as those that boost your damage or healing output. These can be pivotal in clearing difficult trash packs efficiently. Keep an eye on patrol paths, and pull carefully to avoid accidental additional aggro, which could lead to a costly wipe. With these strategies in place, you’ll navigate through the shadowy corridors of the burial grounds with confidence.
Puzzling Obstacles and Solutions
Beyond mastering trash mobs, you’ll encounter enigmatic challenges within the Shadowmoon Burial Grounds that demand creative problem-solving. As a Mythic+ dungeon, the complexity ramps up, and you’re not just fighting enemies; you’re up against the dungeon itself.
Some puzzles may seem daunting, but they’re manageable with a keen eye and quick reflexes. You’ll notice that certain bosses have mechanics targeting random members of your party. This is where your damage dealers must shine, not just with their output but with their movement. Be ready to adapt your rotation for the season’s affixes, which can change the way you approach each encounter.
Your item level plays a crucial role in overcoming these obstacles. It’s not all about strength, though; strategy is key. For instance, an encounter might require you to interrupt a deadly spell cast at random targets, demanding precise timing and coordination from your team. This is especially true on mythic difficulty, where the margin for error is razor-thin.
Optimal Group Composition Tips
Choosing the right mix of classes and roles for your party is crucial to conquering the Shadowmoon Burial Grounds in Mythic+. Every second counts, and the right lineup can save you valuable time. You’ll want a balanced team that can handle the hordes of corpse skitterlings, powerful bosses, and complex mechanics you’ll face.
A robust tank is essential; one that can withstand heavy hits and manage multiple enemies. For healers, consider classes that can offer strong area-of-effect healing, as well as the ability to quickly top off a single target when necessary. The ruby life-type item can be a lifesaver in this dungeon, so having a healer familiar with its intricacies can give you an edge.

Damage dealers should be a mix of strong area-of-effect damage for clearing out corpse skitterlings and single-target damage for boss encounters. Crowd control abilities are also invaluable here to manage pulls and give your healer breathing room.
Lastly, don’t underestimate the utility of companion pets. They can distract, deal additional damage, or even provide minor support, contributing to the overall efficiency of your group. Strategize your group composition with these points in mind, and you’ll be well on your way to mastering the Shadowmoon Burial Grounds.
Conclusion
You’ve now mastered the cryptic halls of Shadowmoon Burial Grounds! Remember, a staggering 90% of groups fail on their first attempt at Bonemaw—don’t be part of that statistic.
With the right team and strategies, you’ll conquer bosses and trash alike. Use this guide to cut through the darkness, and let your triumphs echo through the burial grounds.
Gear up, dive in, and let your legend grow within these ancient walls.
More you farm – more WoW SoD gold you get!
Leave a Reply